Understanding and Creating Supplier Records
A Supplier record is the master profile for any company you work with inside Oasis. This may include a DMC, tour operator, consortium, transportation provider, cruise line, or a direct hotel partner.
Rather than entering the same company details repeatedly across accommodations and services, you define that information once at the Supplier level. The Supplier record centralizes operational details, contact information, payment expectations, documents, and system relationships. When used properly, it reduces duplication, keeps confirmations accurate, and ensures the mobile app displays the correct information.
How to Create a Supplier
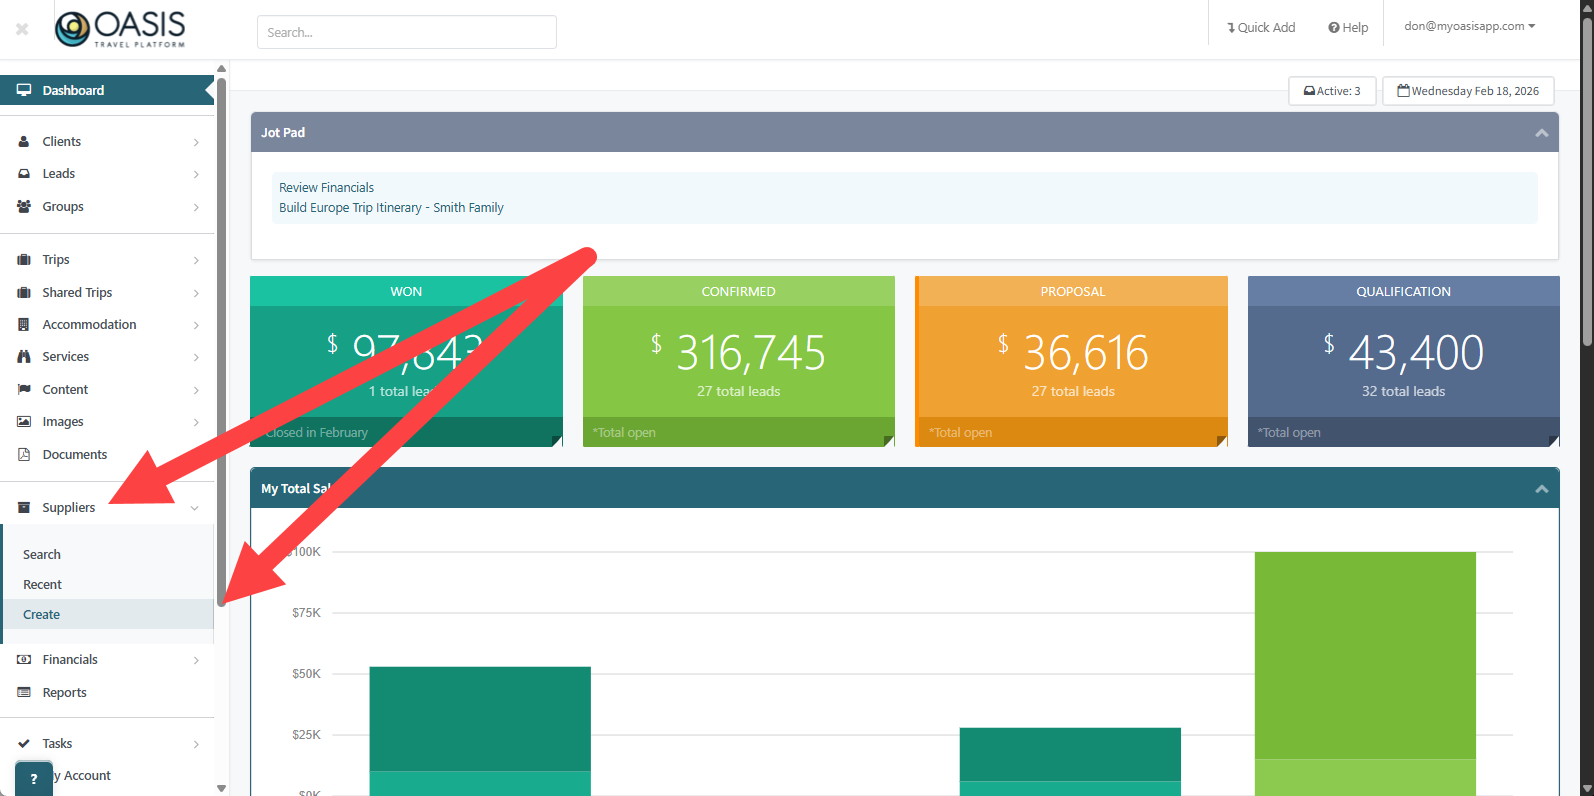
Step 1: Open the Supplier Menu
From the left sidebar, open the Suppliers dropdown menu and select Create.
Step 2: Enter Basic Supplier Information
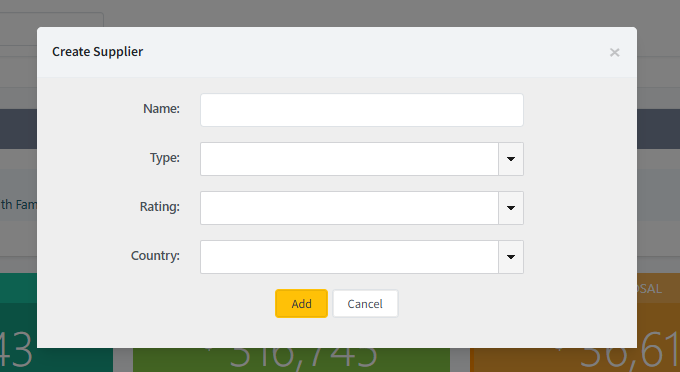
Name: Enter the official name of the supplier or DMC.
Type: Choose from the available options: DMC, Tour Operator, Consortium, Direct, or Transportation. If a new type is required, a system administrator can update the Supplier Type list.
Rating: Choose from Primary, Secondary, or Not Active. This helps categorize and prioritize your supplier relationships.
Country: Select the primary country of operation.
Step 3: Complete All Supplier Fields
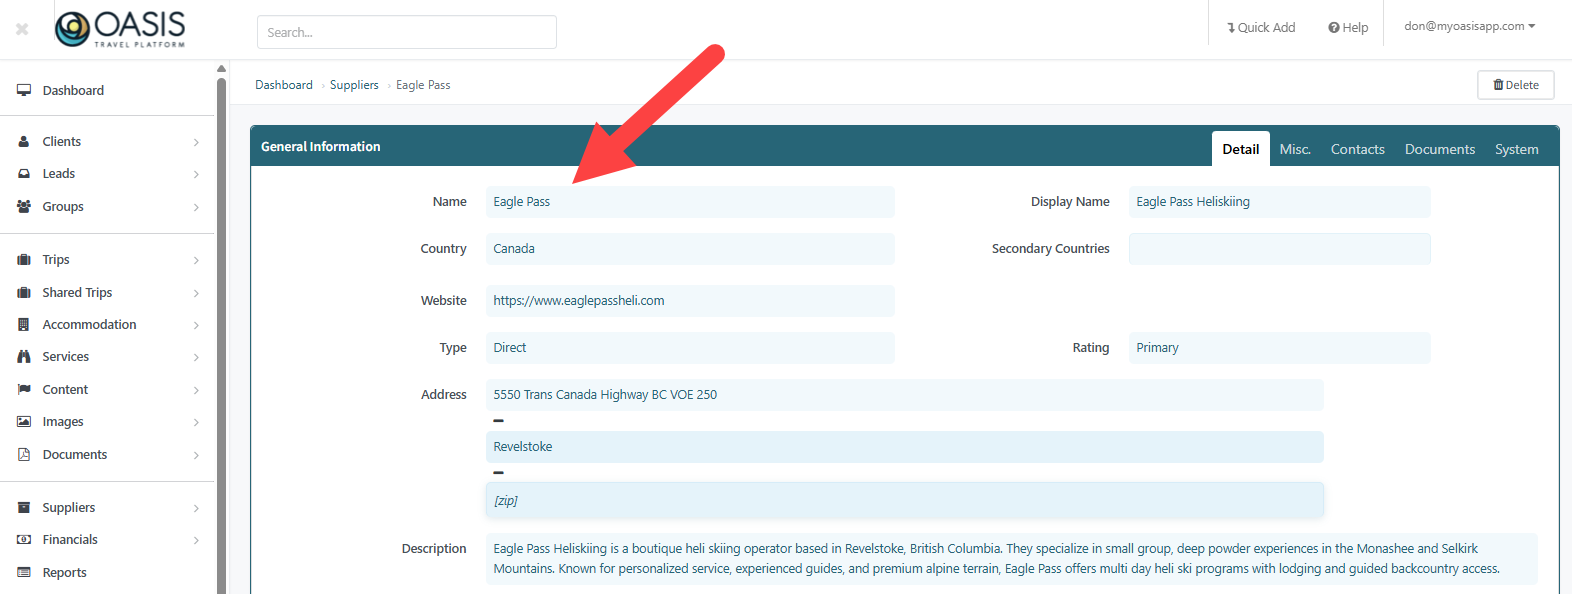
Once the basic fields are entered, continue completing the remaining details:
Website: Enter the supplier’s website.
Secondary Countries: Add any additional countries where the supplier operates.
Rating: Choose from Primary, Secondary, or Not Active. This helps categorize and prioritize your supplier relationships.
Address: Enter the supplier’s full address including city and postal code if available.
Description: Use this space for internal notes about the supplier, specialties, booking instructions, or any other relevant operational details.
Contact Information used in Itineraries
The Supplier record allows you to manage both general contact information and individual team contacts.
Contact Info Used in Itineraries: This field defines the default contact details that may appear on confirmations and in the mobile app.
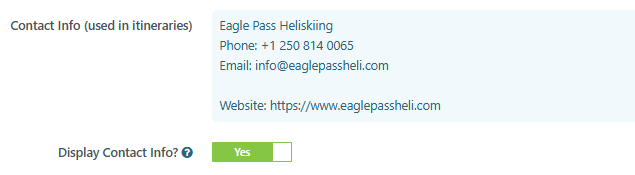
Display Contact Info Toggle: When enabled, supplier contact information will appear on booking confirmations and in the mobile app. When disabled, contact details will not be displayed externally. This setting is especially helpful when a supplier is also created as an accommodation. Disabling the display can prevent duplicate contact information from appearing in client-facing materials.
Default Payment Settings
Supplier records allow you to define default financial expectations that can be referenced when building services.
Default Payment Method: Specify how this supplier is typically paid.
Payment Notes: Document special billing instructions or reminders.
Deposit Bill Percent: Set a default deposit percentage if applicable.
Final Bill Due: Define how many days before the trip the final payment is due.

When a cost is created and associated with a Supplier Record, the system will first use the Deposit Bill Percent and Final Bill Due defined within that Supplier record. If these fields are left blank, the system will then fall back to the default payment settings configured under Company Profile in the Bills and Payments section.
This allows you to maintain global billing standards at the Company level while overriding them for suppliers that require different deposit amounts or final payment timelines.
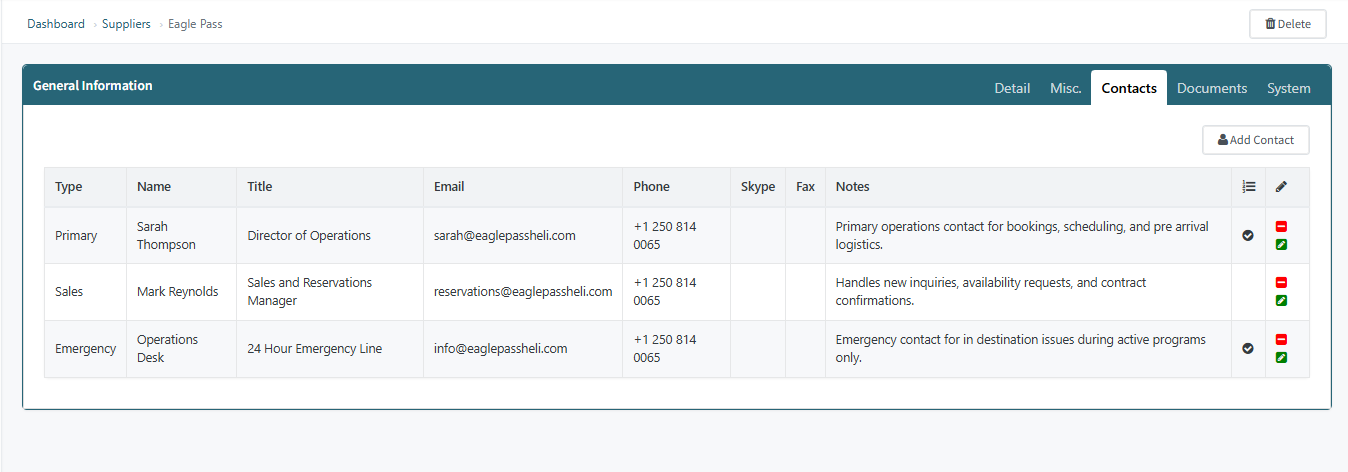
Adding Supplier Team Contacts
Within the Contacts tab, you can add individual team members associated with the supplier.
For each contact, complete the following fields:
Type: Choose from Primary, Sales, Operations, Emergency, or General. If additional contact types are needed, a system administrator can update the Supplier Contact Type list.
Name: Enter the contact’s full name.
Title: Enter their role or title within the company.
Email: Add their direct email address.
Phone: Enter their direct phone number.
Fax: Enter a fax number if applicable.
Notes: Use this field for internal documentation.
Included in Itinerary: When set to Yes, that contact’s information will be included in booking confirmations.