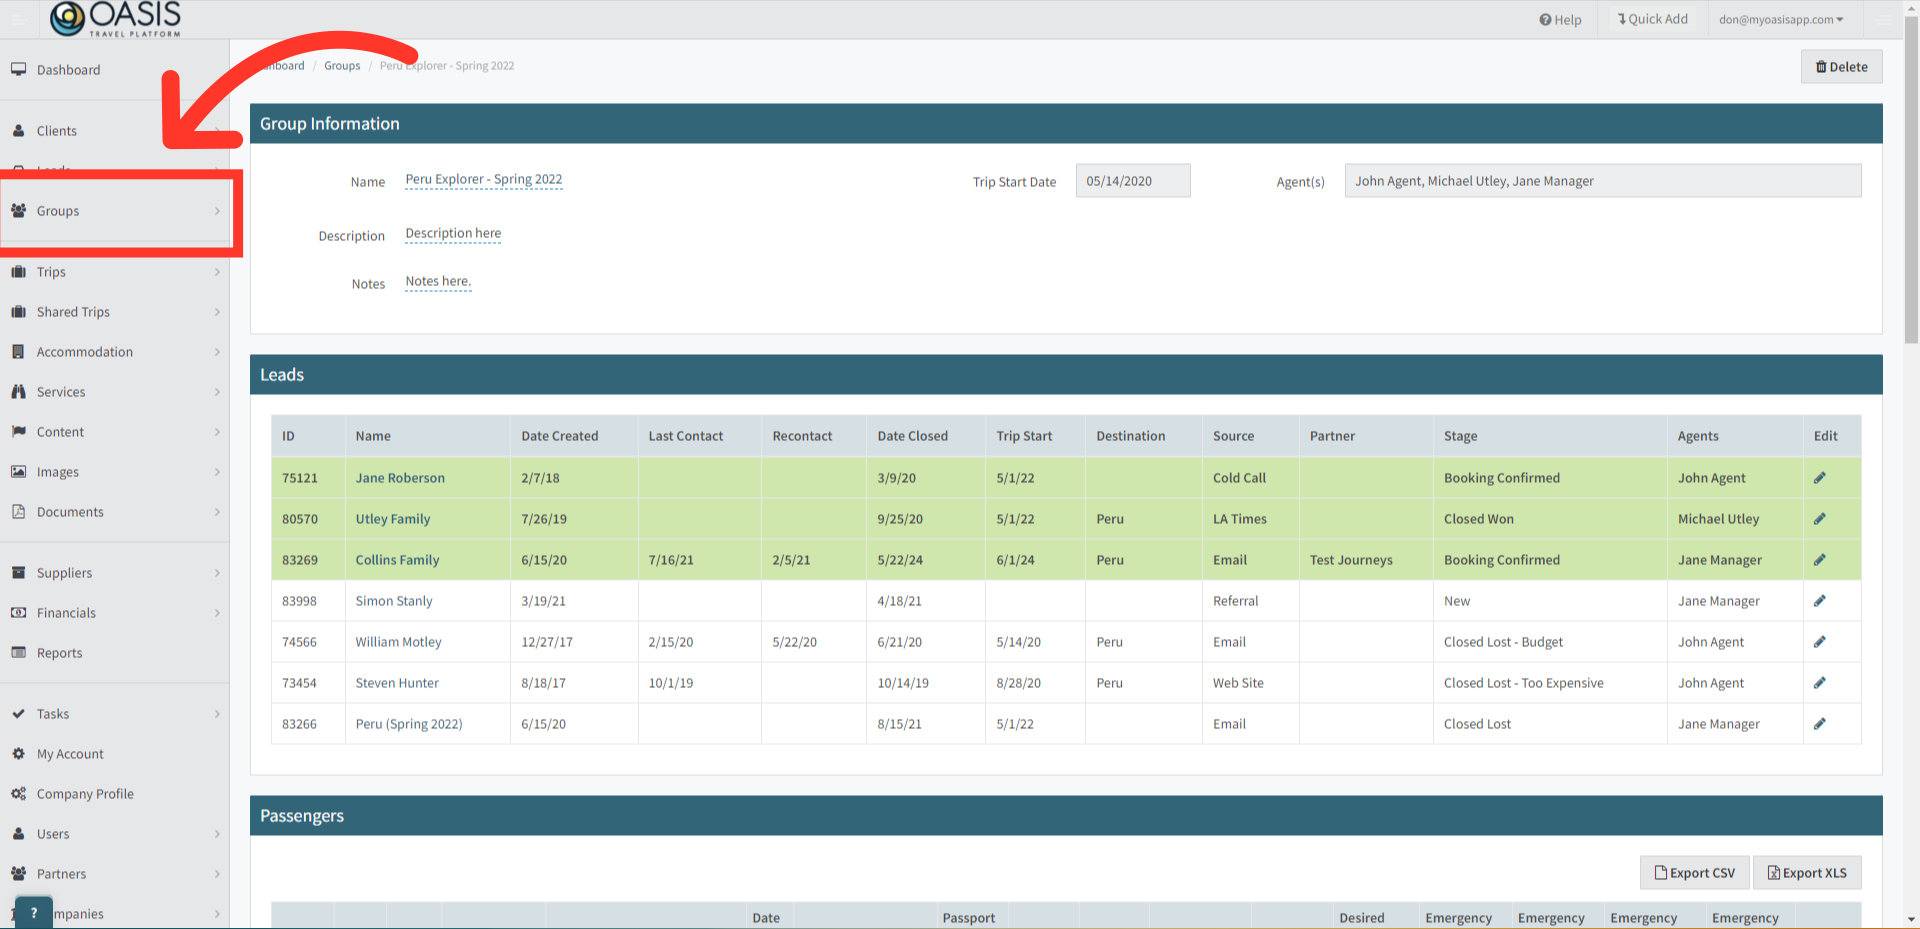
Welcome! Today, we'll quickly go over Groups in the Oasis Travel Platform.
1. Groups provide a way to consolidate and track information from multiple lead bookings. This is useful for filling a pre-set group tour. Once a group is created you'll have access to all the leads in the group, all clients for confirmed lead bookings and all financials, excluding closed or lost leads.
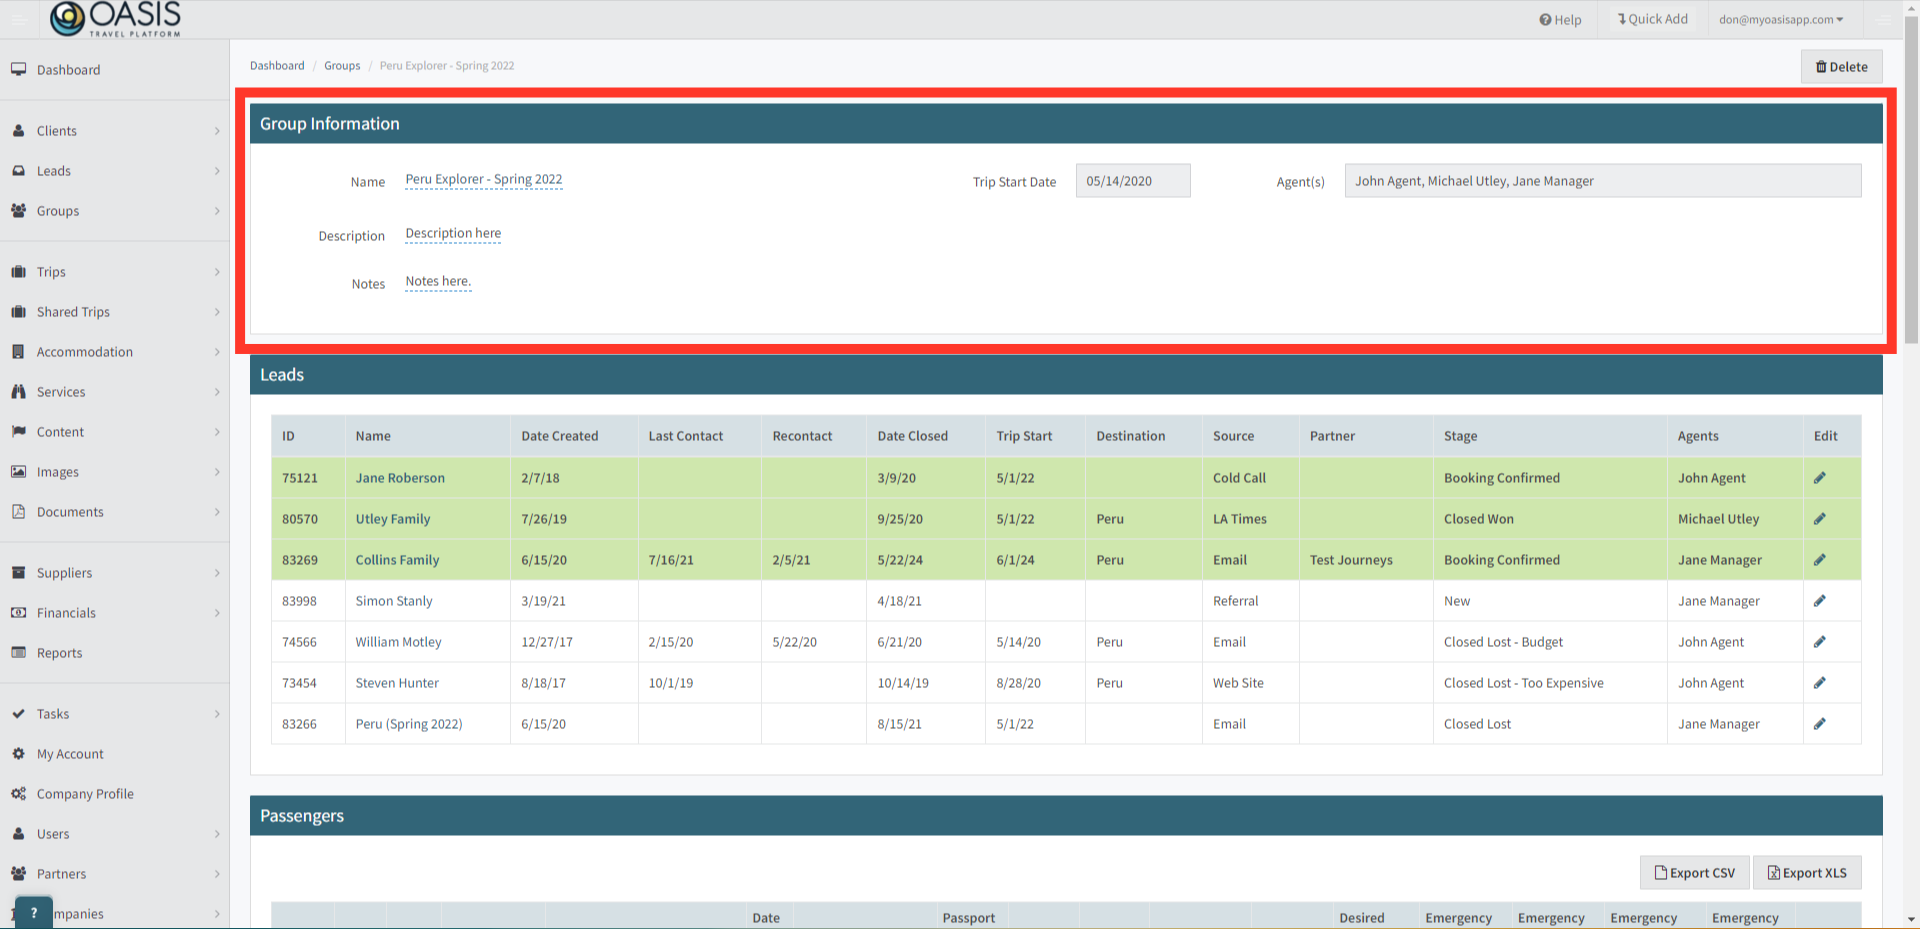
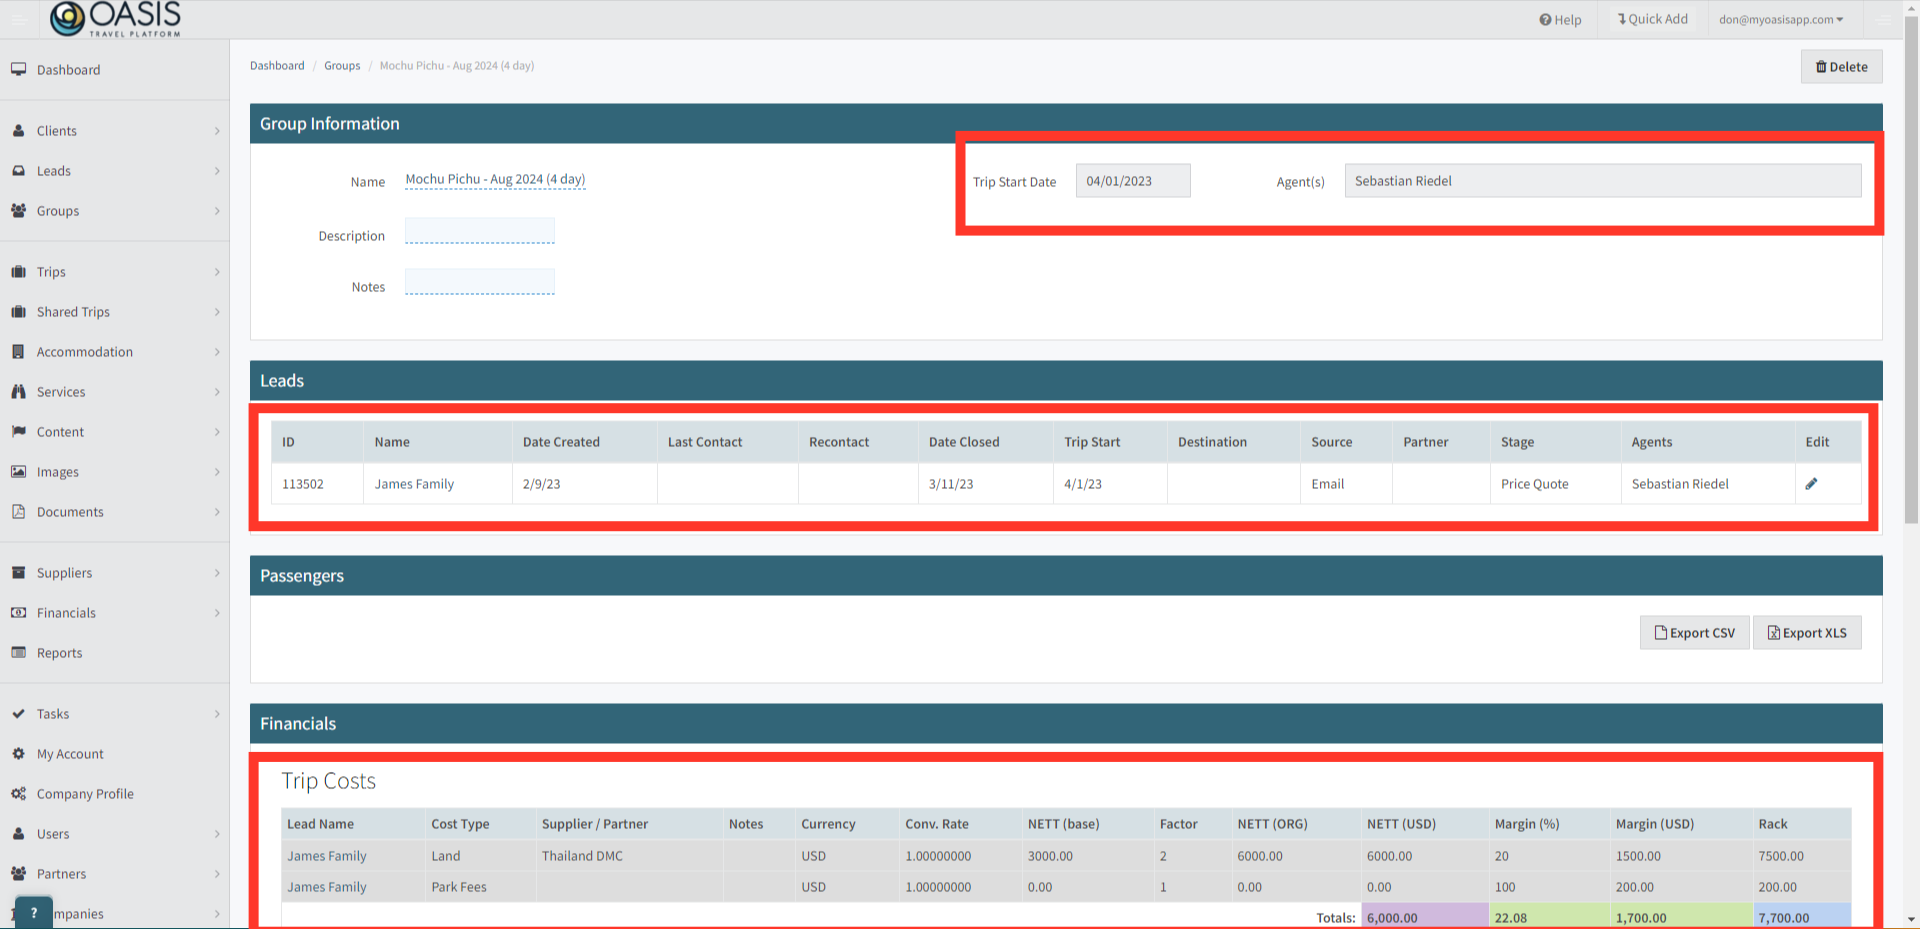
2. The Group Information section, which includes details such as the Group Name, Description, start date, and assigned agents.
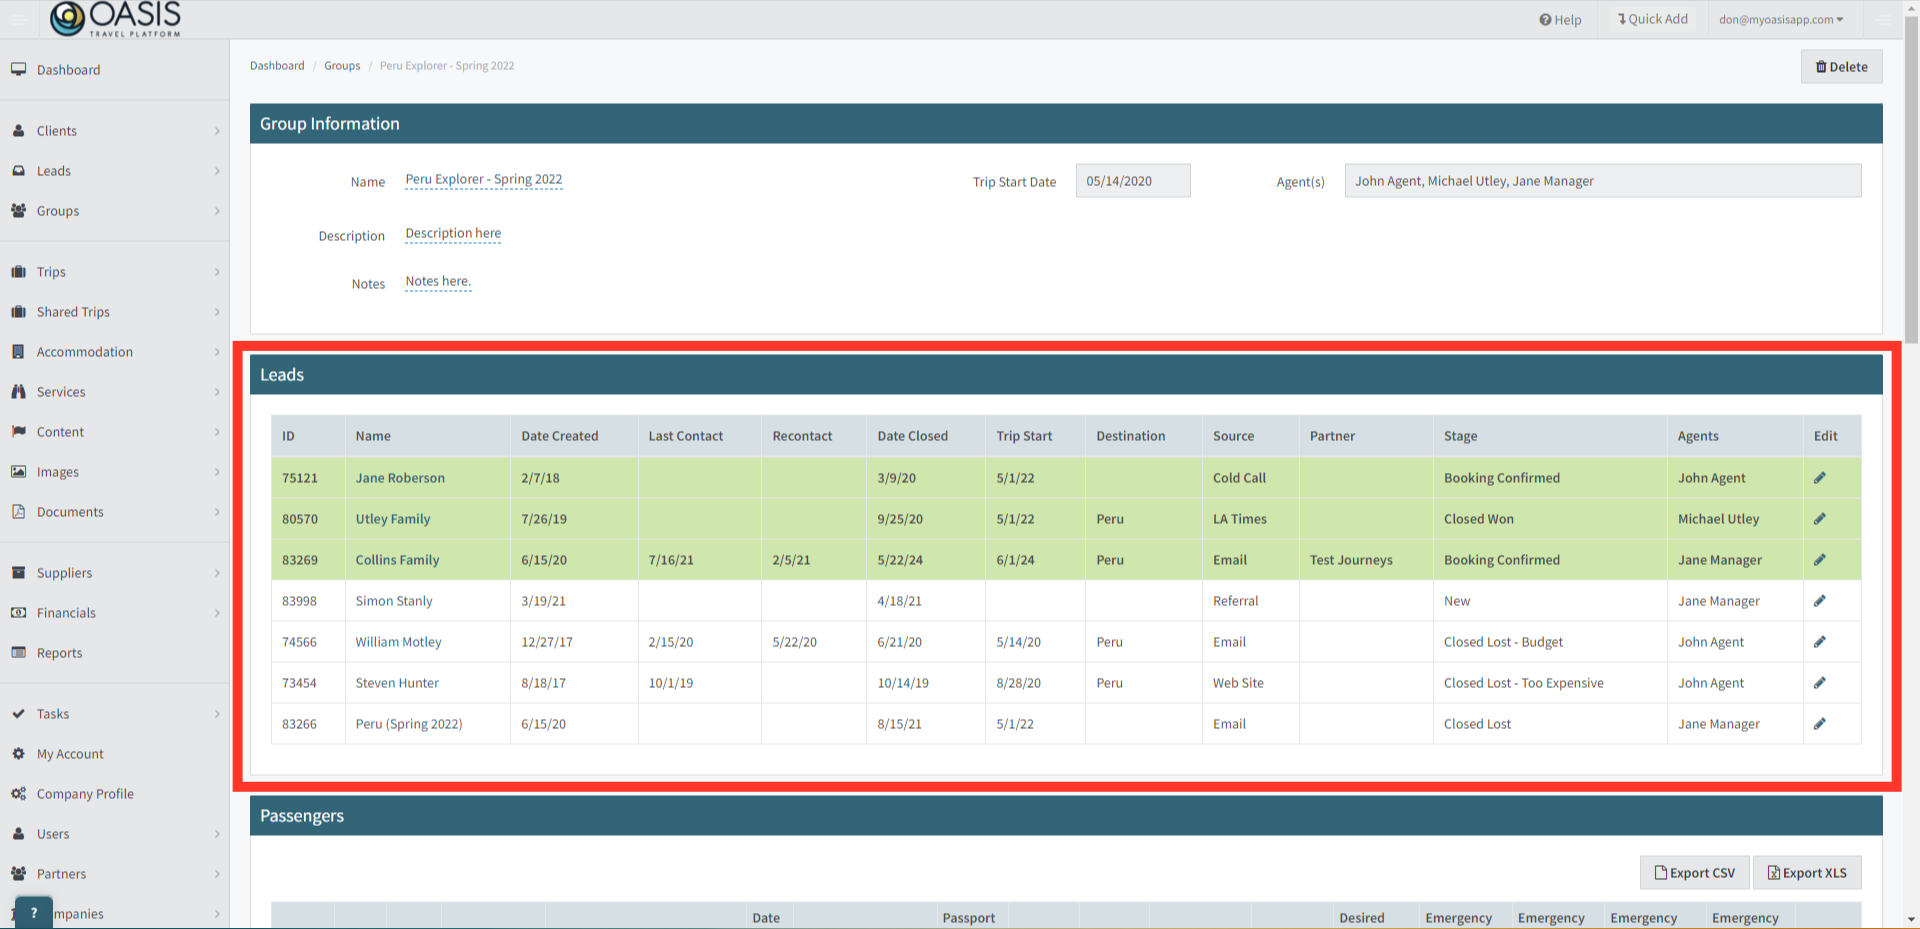
3. Below, you'll find a list of Lead Bookings assigned to the Group, along with details such as their current stage, assigned agents, and links to the respective lead bookings.
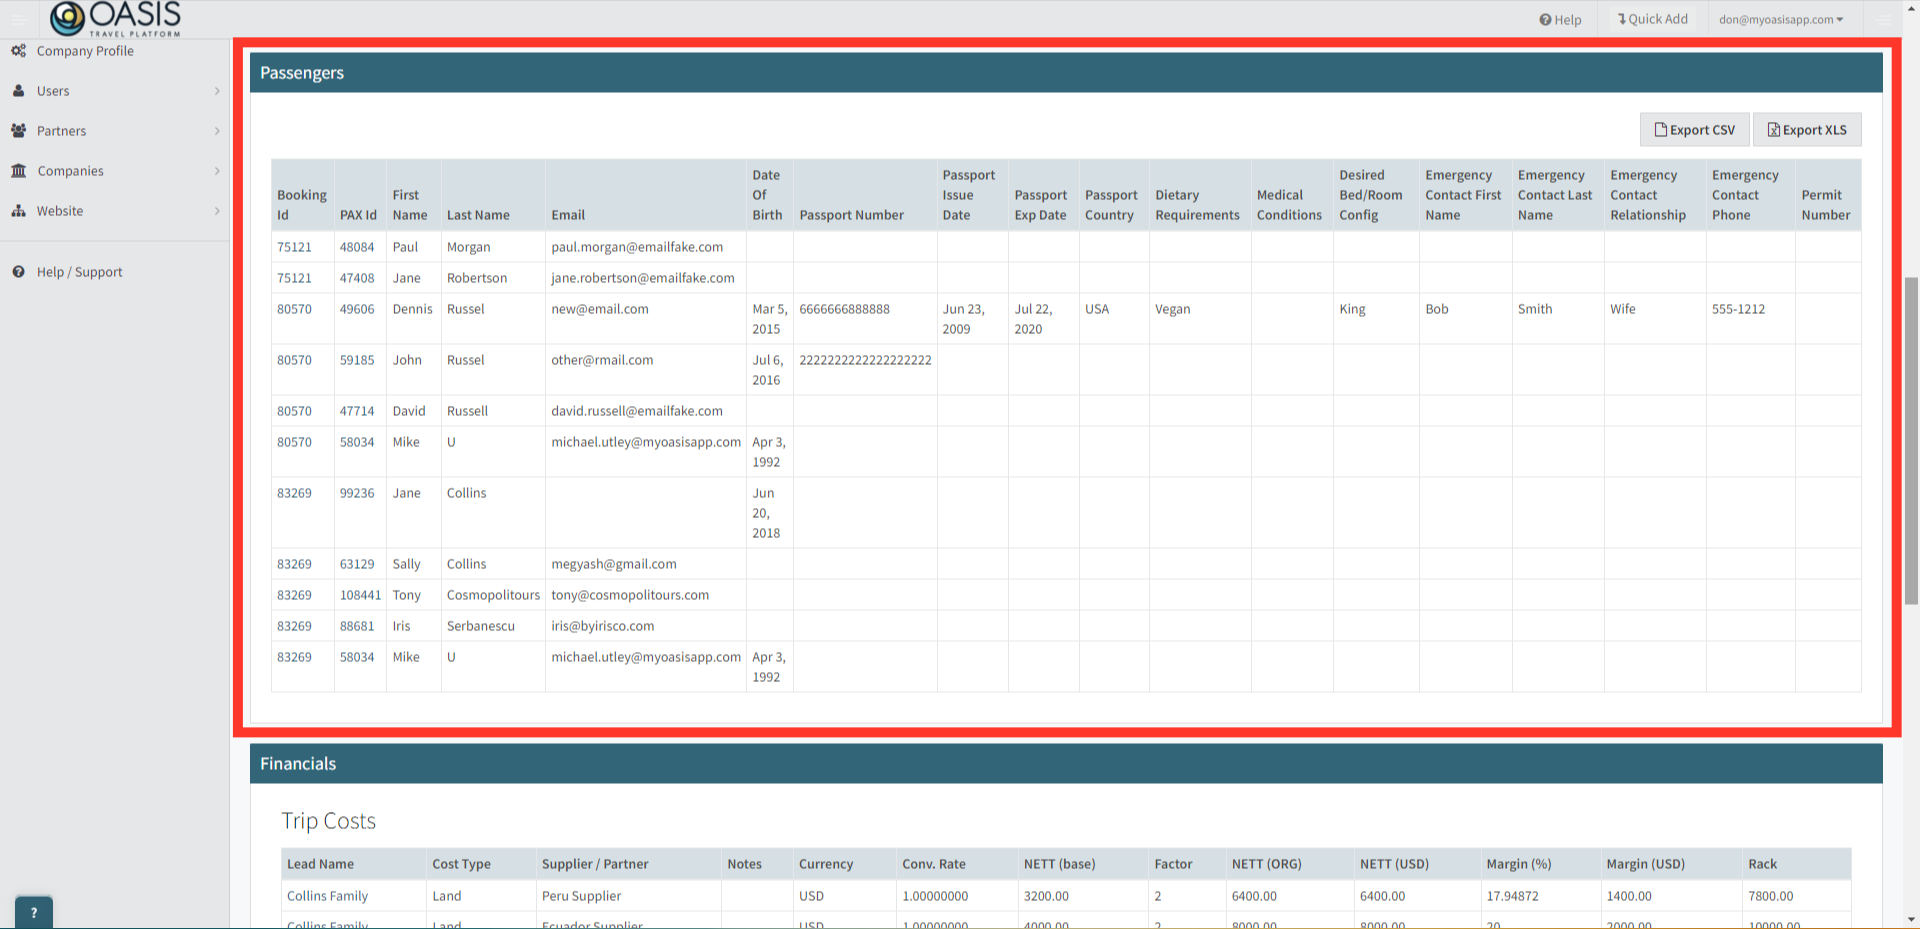
4. Below, is the Passengers section, which provides a list of clients listed on any of the Lead Bookings assigned to the Group.
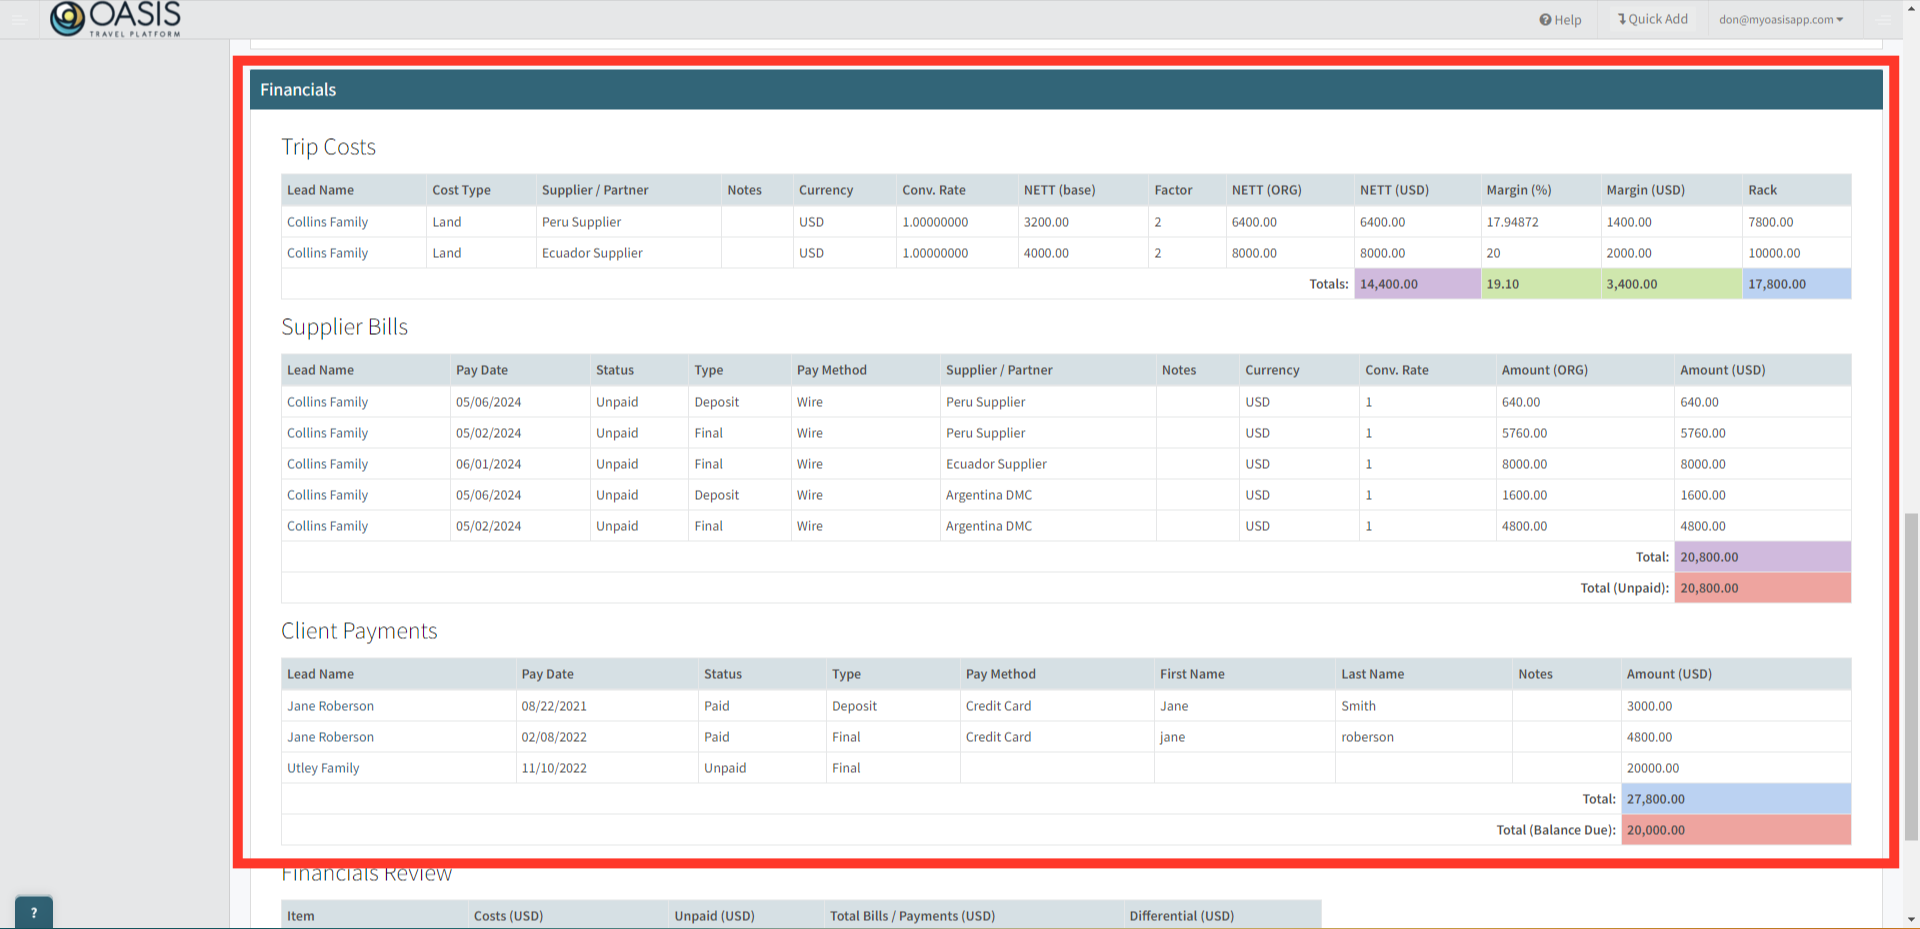
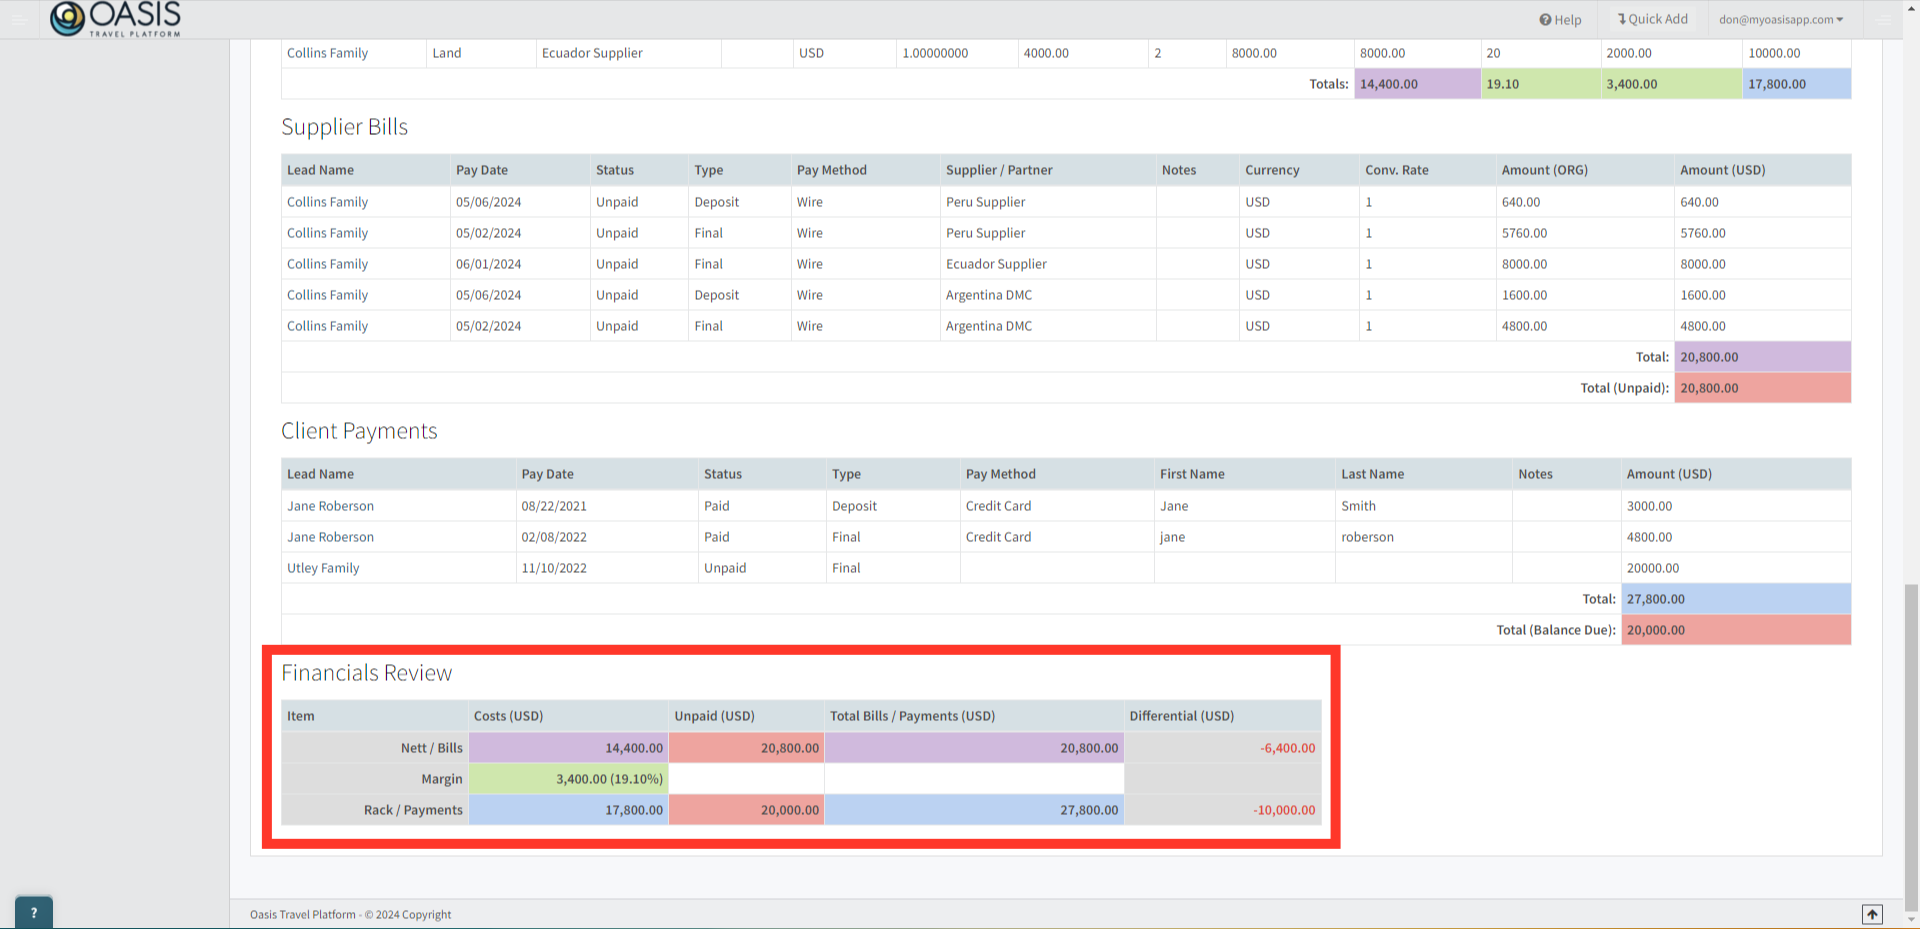
5. Below, you'll see the Financials section, which presents the sum of all the lead bookings' financials. It's broken down by Trip Costs, Supplier Bills, and Client Payments. If you need to make any changes, simply scroll up and click on the lead booking containing the financials you wish to edit.
 | For any updates or modifications, please ensure that they are made through the Lead Booking listed above. |
6. Towards the bottom, you'll find the Financials Review section. Here, you can check if your trip is reconciled by observing the Differential column, which highlights any discrepancies in red. Additionally, you can quickly access Nett, Rack, or Margin details as needed.
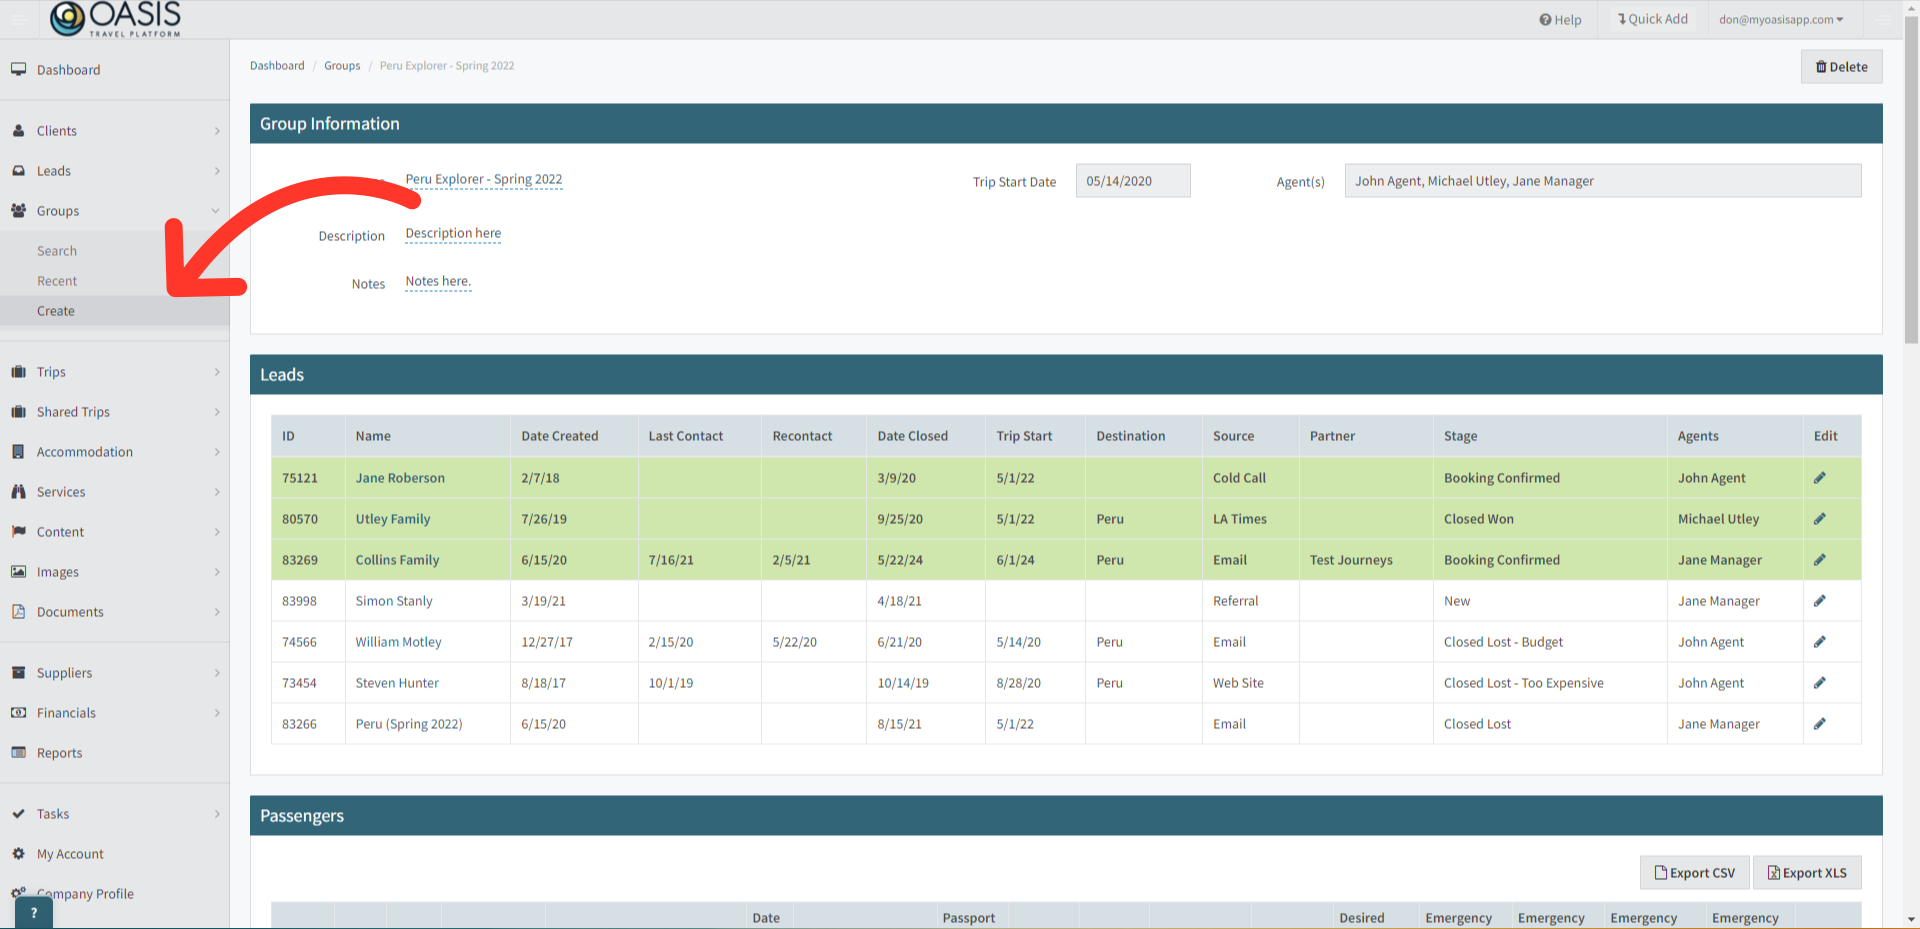
7. If you want to Create a New Group, under Groups on the left hand column, select Create.
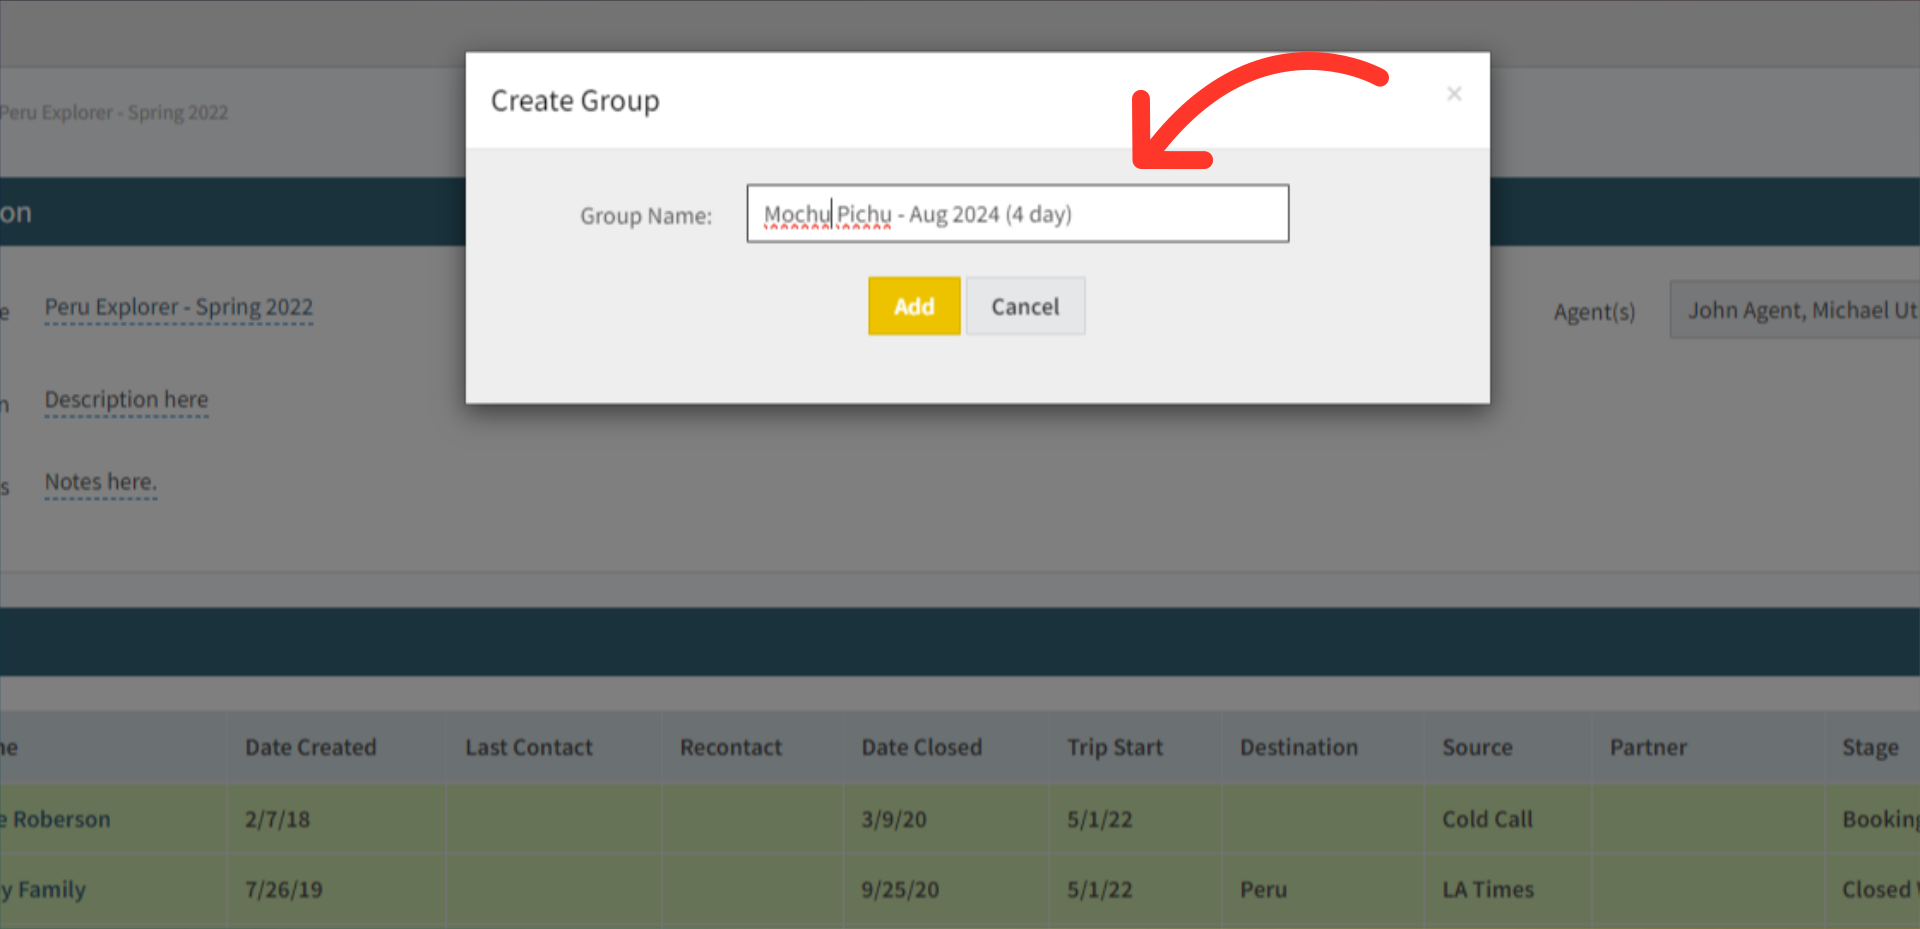
8. Give your new group a name and hit Add.
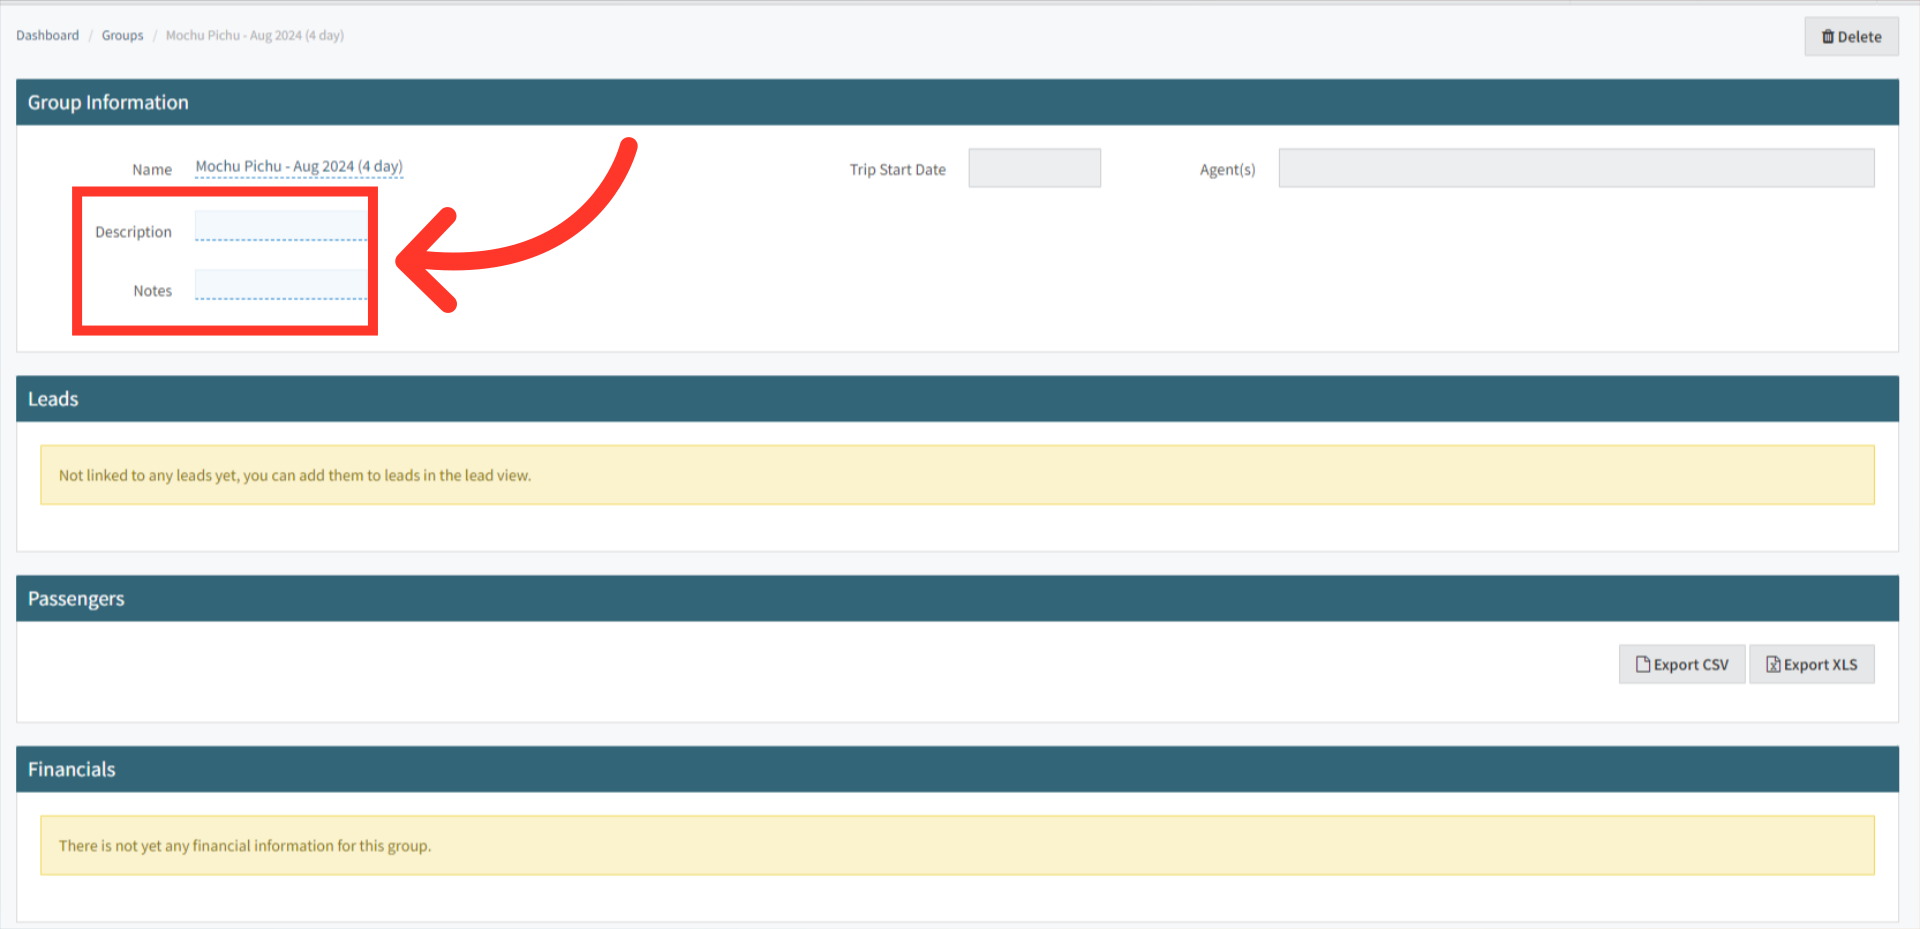
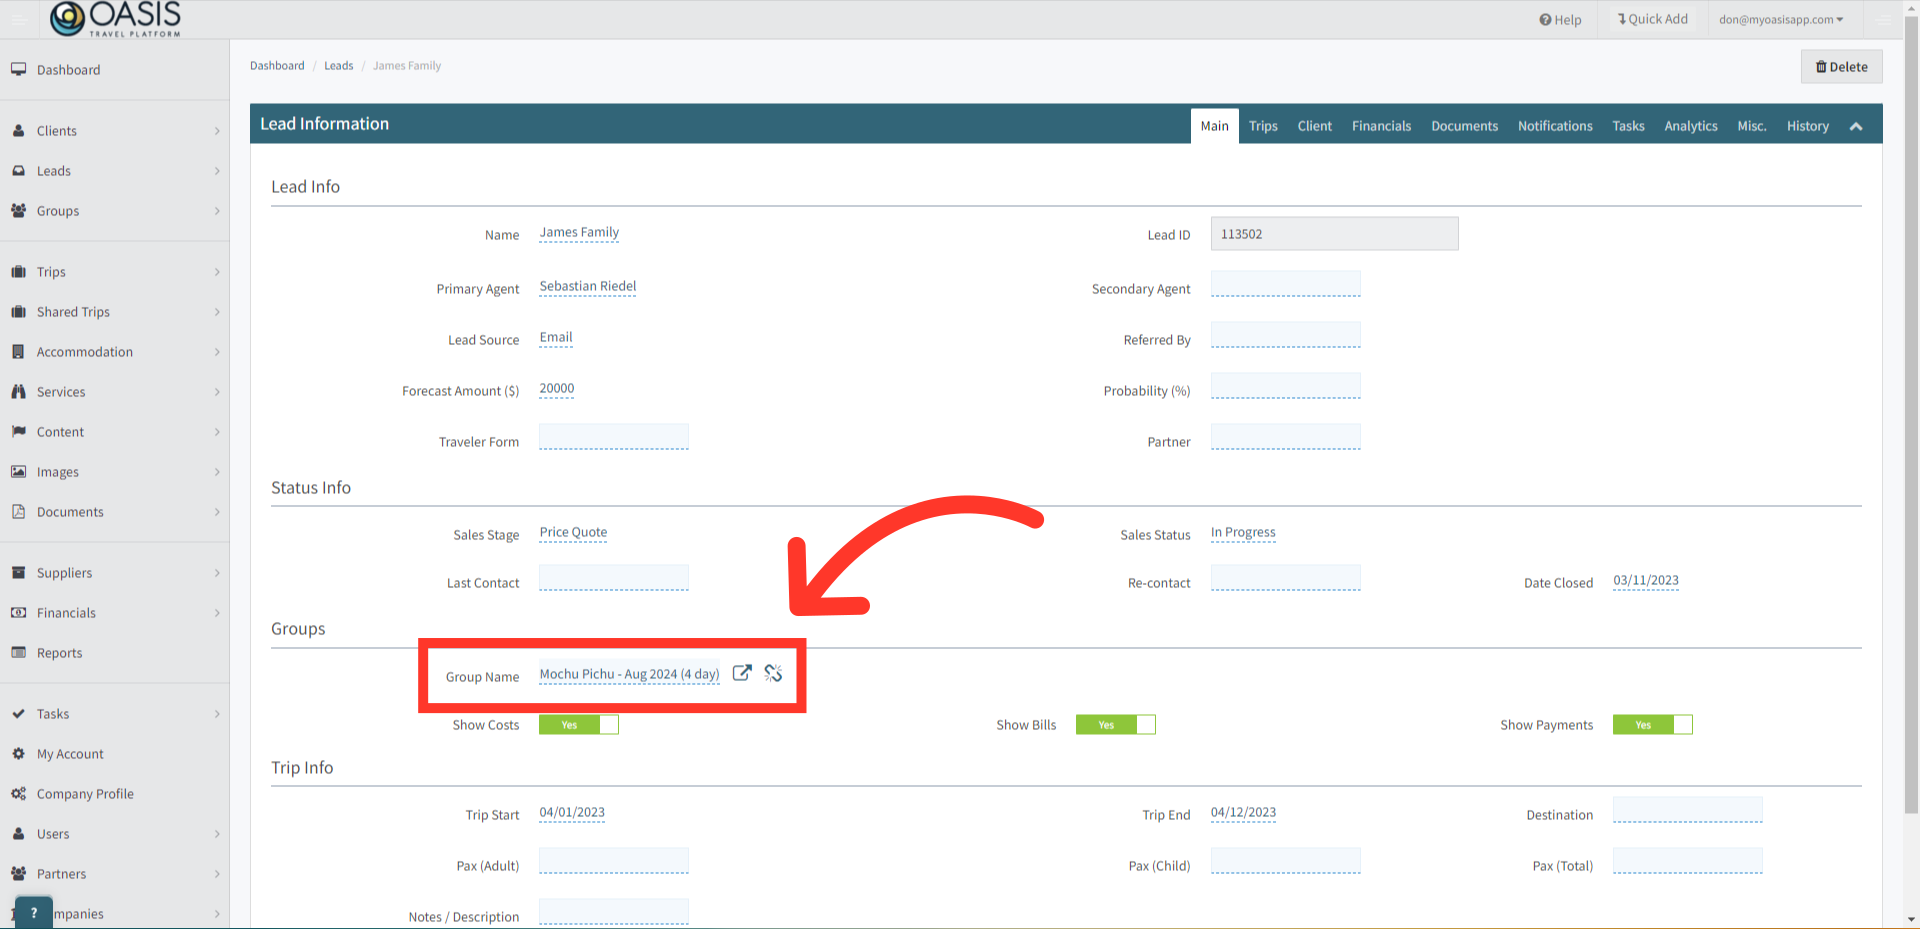
9. Give your new Group a Description and add notes if needed. Now, to add Lead Bookings to this group you'll want to navigate to the specific Lead Booking.
10. In the Groups section, locate and select the Group you created to link up the trip.
11. Understanding how to use the Financial Toggles in the Groups Module is key for managing your travel agency's finances effectively. These toggles—Show Costs, Show Bills, and Show Payments—allow you to customize the financial information displayed in your group summaries. By using these settings, you can tailor your financial tracking to suit your preferred management style, ensuring detailed insights and centralized control. Click the link to learn how to leverage these toggles and enhance your financial management in the Groups feature.

 | Click to learn how to use these toggles in your financial management |
